
This term's project for the second year Applied Studies module was to make a recoil escapement to fit to the mini clocks we made in our first year. Follow after the break to see the process I followed:
The first step, as with anything in horology, is to design it. I based the design of my wheel on the one in the BHI technical drawing instructions, altering aspects of it to allow it to work in my clock. I then scaled this up 2:1 to give myself a large sized model to test.

We used the universities laser cutter to make our drawings into parts. In order to get the parts made accurate we needed to calculate the laser beam width, and ofset our drawing to make the cut out shape accurate to the drawing. It took a lot of thinking! Here's my double size model, and 1:1 model inside my mini clock.


Unfortunately, the laser cutter melted the plastic as it cut, warping the shapes of the parts, so the escapement didn't work in the clock, but did in the 2:1 model, which, due to the size of it, was less sensitive to small changes in dimensions.
The next step was to practice making the pallets by hand out of acrylic, a much easier material to work with that steel!

To test it properly, I made my escape wheels for this stage. Below you can see it before it was crossed out.

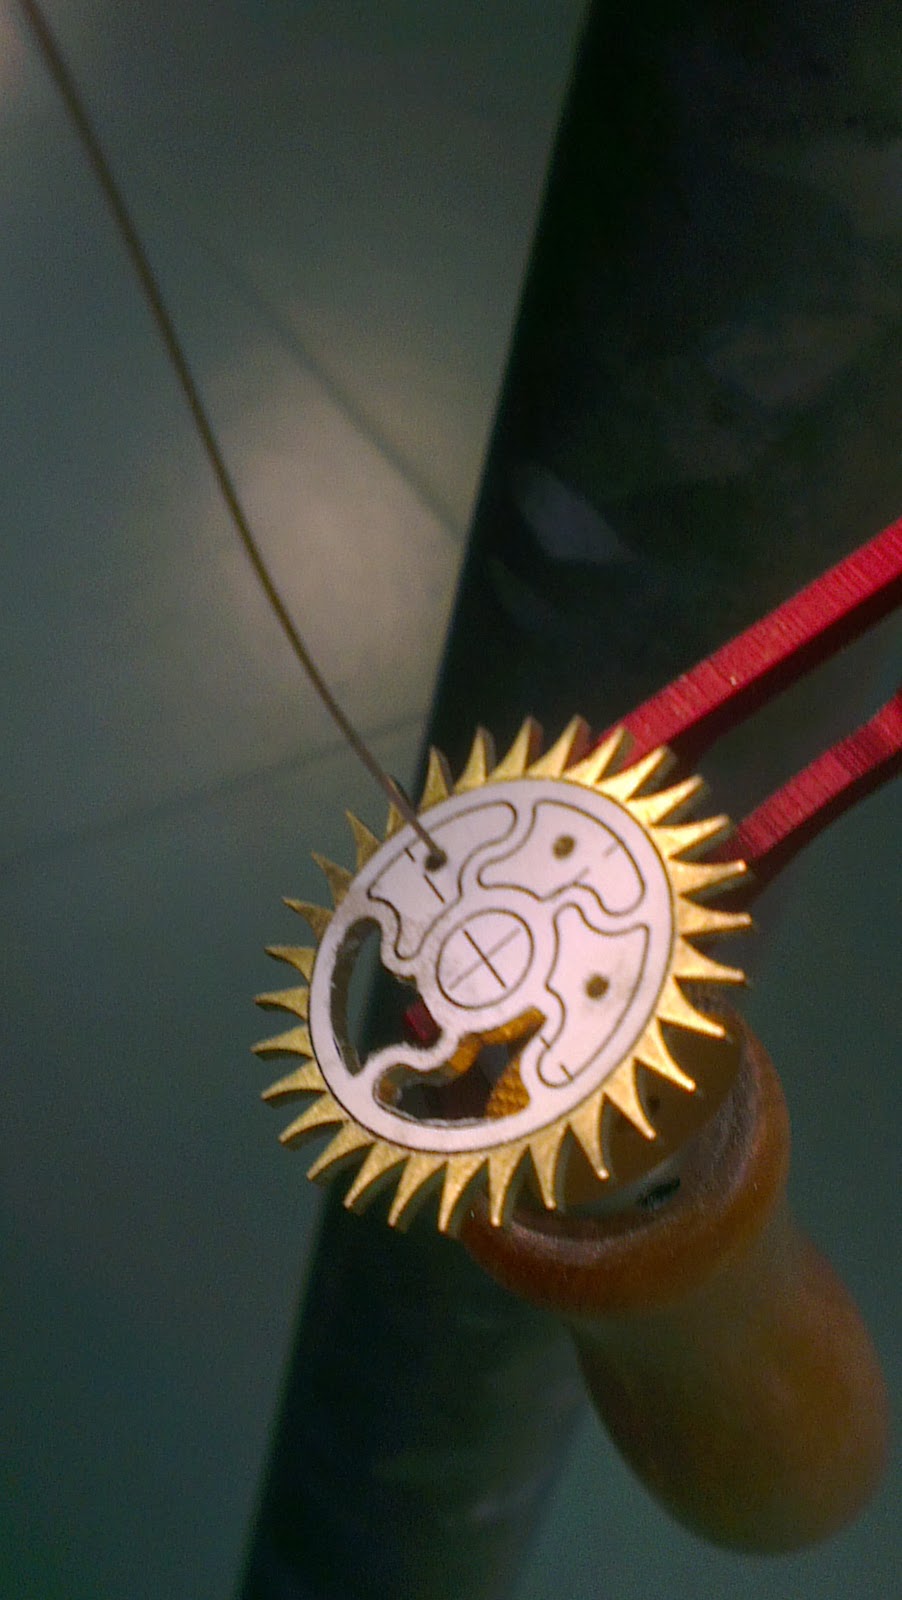
Before making my steel pallets, I took a break to cross out the wheel. The design I chose is based on one I've seen used by AHCI members.


}
It has brushed sides, and bevelled and burnished edges. I was very careful to not do anything to affect the shepe of the teeth as this would have an adverse effect.
It has brushed sides, and bevelled and burnished edges. I was very careful to not do anything to affect the shepe of the teeth as this would have an adverse effect.

Here's my first set of steel pallets, as you can see, they're not tidy at all. I believe that the drawing wasn't quite right, and I hadn't spent the time to send any of the acrylic pallets properly. I wasn't happy with these, and so marked around these on a fresh piece of steel so I would know the shape I needed to achieve.

Below you can see a video of the final pallets working! There's no pendulum connected to them, so the action doesn't look quite right. Comparing these pallets to the ones pictured above, I'm glad I chose to remake them again from scratch.
A few pictures of the escapement back in the fully assembled clock


And here's a teaser of a project I'll be working to complete in my free time next term!

No comments:
Post a Comment
Don't forget to like us on Facebook and follow us on Twitter for more!