
This week I've been polishing cases on watches that are being serviced. It's not something that's normally done by watchmakers unless they own their own shop, but is a great skill to have. I've documented the process of refurbing a Tag Carerra for you to see how it works. At the end are before and after shots of a selection of other Tag Heuer watches, too!
The watch comes in parts ready for polishing, below you can see the condition of it. It wasn't terrible, but certainly not great.

The bezel's plastic insert can't be polished, so the bezel just needs to be touched up underneath.

The first stage is a sisal mop. This takes off surface marks and makes the finish relatively uniform to help show deep scratches easier. It is also used to take marks out of polished sections as it is not that abrasive.

Even after this quick step you can see the difference it makes

Then work is continued on the polished parts. A felt mop is used, as this is much harder than traditionally used cloth mops, which allows both greater control and helps keep shape and definition.

The first two stages use a polish called 'chocolate'. It does a pretty good job of polishing but I think I'll stick to dairy milk for snacks.

The same is done on the case, again paying attention to the original shape. As many scratches and dents as possible should be removed, but keeping the shape of the case is most important.

Because the chocolate polish is very sticky and coarse, it needs to be completely cleaned off before continuing. An ultrasonic tank is used, filled with a strong cleaner maintained at a very high temperature. Because of this it only takes a minute or so. It's then rinsed and dried.

The next step is to work on the satin (or brushed/grained) parts. To remove the deeper scratches and dents a wheel made from a garryflex block is used. We can't use this for the polished parts because it makes cuts that are too deep to bring the surface back to a smooth polish. It is important when doing this to ensure the wheel is only used in the direction of the grain, or it will show through the final grain.

Here you can see the patches where I used it!

The next stage is to bring the polished parts to a high shine. This is done in two stages, the first with a white and a yellow compound, the second with an orange.


Because of the size of the wheels the satin parts become quite polished too, but I think this helps give a more even grain later.

The difference between the two stages is quite sublte, but definitely noticeable in person. Not so much in this picture unfortunately.

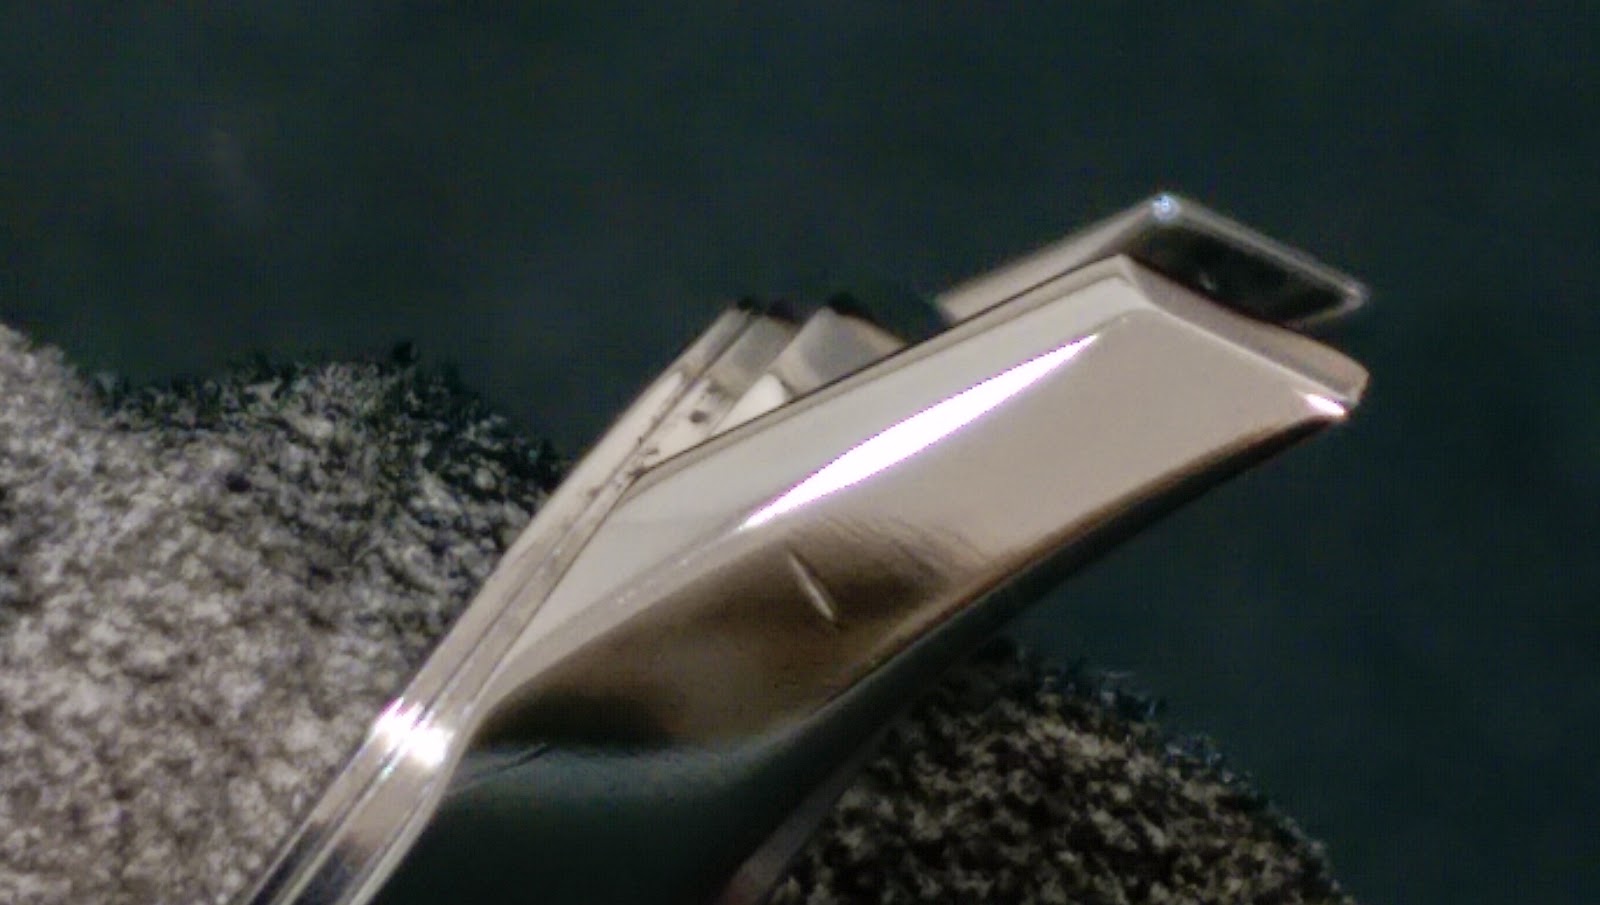
Again, the same processes are used on the case. Some scratches or dents will be too deep to polish out, an example of which is below.
Once the necessary parts have been polished to a high enough shine, they need to be masked off so as to protect them from the graining wheel. Because on this particular bracelet the polished parts are so thin, the best way to add the grain is in two stages; outside first, then inside. It is important to apply the tape accurately as it really stands out if there's one type of finish overlapping where it shouldn't be.

A bufflex wheel is used to apply and even grain. care must be taken to ensure that it's straight for the whole length of the bracelet. If the case had any brushed sections a similar method would be used.

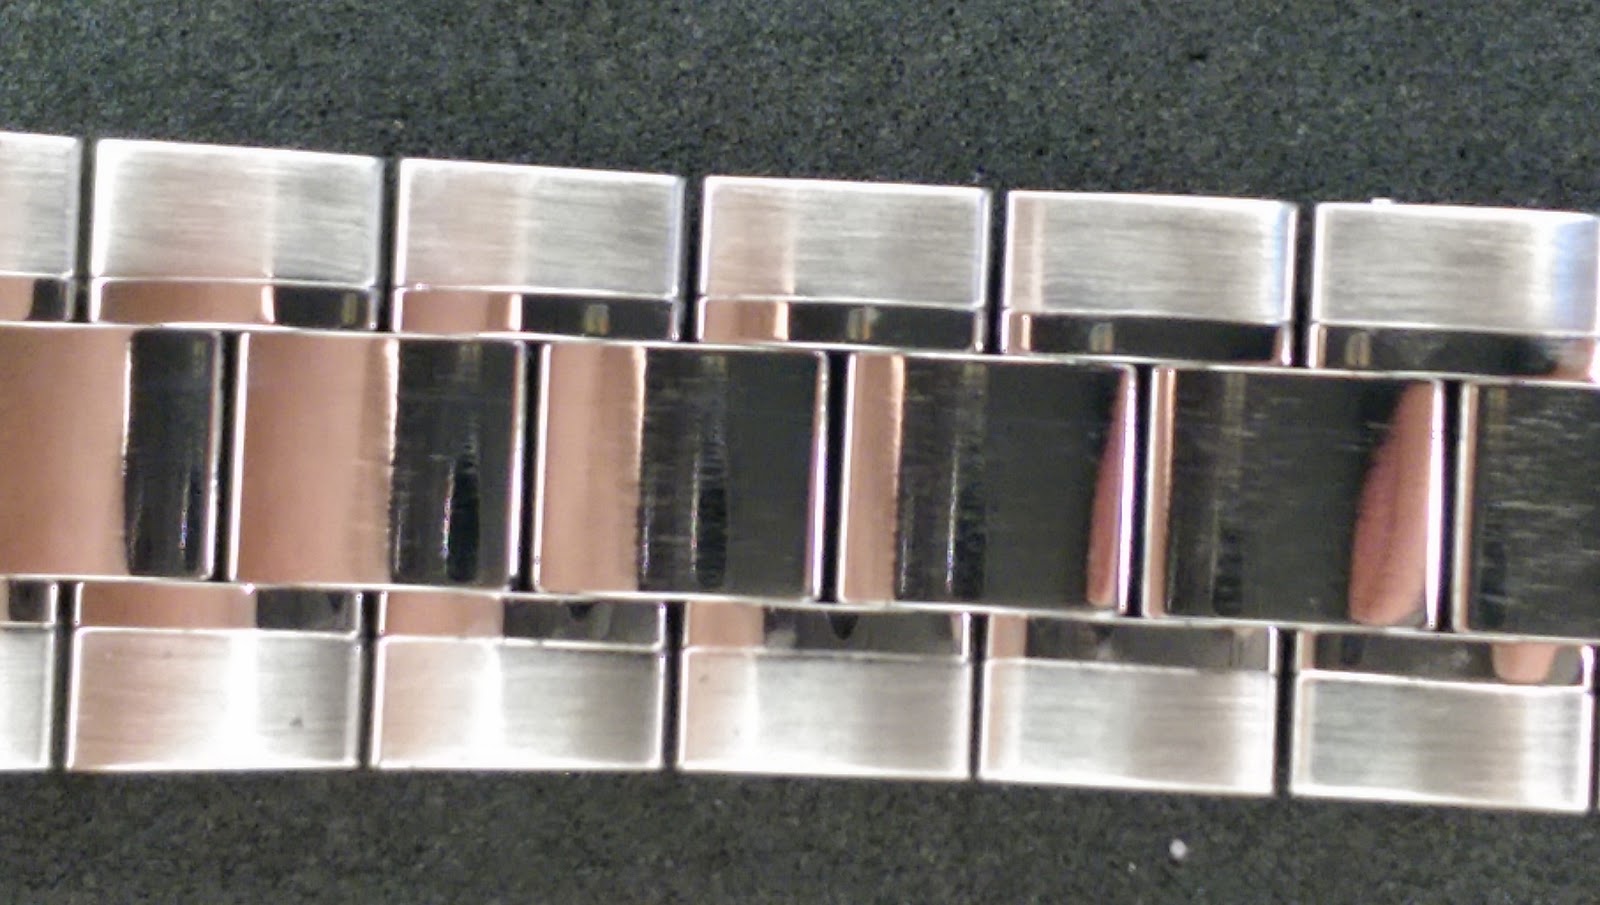
It's a fairly light grain but makes a big difference.

With the tape removed you can see that this is where the bracelet really begins to look new again.
Taping up the outside. Tucking the tape in the gap here allows me to grain the clasp at the same time, ensuring an even transition from the bracelet.

I also touch up the clasp itself, to hide the wear marks.


Here the graining is done! The strap looks almost new. There's just one thing we haven't done...

The sides of the bracelet are polished too. Because the bufflex wheel will almost always spill over the edge we save this part for last. Holding the top of the bracelet away we can polish the sides very easily, and the mop naturally doesn't touch the top. This also helps create a smooth fade for a cleaner looking overall finish.


And it's done! the watch is ready to be reunited with the glass, movement and dial.

And a final shot of the very high tech polishing machine used. The screen at the top displays the exact RPM of the spindle, allowing great control of the mops.

Here's some before and after shots of a few other bracelets done in a similar manner. Remember, click on the images to make them bigger.
Tag Heuer Link case, bezel and bracelet


Aquaracer bracelet


Another Aquaracer bracelet


No comments:
Post a Comment
Don't forget to like us on Facebook and follow us on Twitter for more!